用 AWS CLI 在 S3 上架設靜態履歷, The cloud resume challenge by Forest Brazeal - part1
為了讓自己更熟悉雲端服務,搜尋各種個人專案和挑戰的時候發現 The Cloud Resume Challenge by Forest Brazeal 。是個相對簡單、但會需要對Web Application有一定程度認知的個人專案,不只可以上手操作 AWS CLI ,也能熟悉用 AWS Lambda 執行 Python Function 。
這篇 Part 1 會介紹 #theCloudResumeChallenge 的前4 個步驟:
- 擁有AWS Cloud Practitioner Certification,Associate或Professional等級的認證應該非常熟悉AWS服務,不需要做這個挑戰吧😅 。
- 將履歷寫成 HTML 格式,pdf、txt和word不算數。
- 用 CSS 對履歷進行修飾,方便閱讀。
- 將 HTML履歷上傳至 S3 成為靜態網頁,現實中也能使用較為便利的 Netlify 或 Github page,但考慮是雲端技術挑戰所以使用S3。
The Cloud Resume Challenge - AWS
靜態HTML格式履歷書 #
Hyper Text Markup Language(HTML),中文譯名應該是「超文本標記語言」,使用標籤去定義網頁的內容呈現。架構由最外層的 <HTML> 標記表示該文件為HTML格式;其中,內部會包含宣告各種外部連結、網頁樣式、腳本等網頁資訊溝通的 <head> ;會直接顯示給使用者、為網頁核心需要定義樣式及內容的部分則包含在 <body> 。
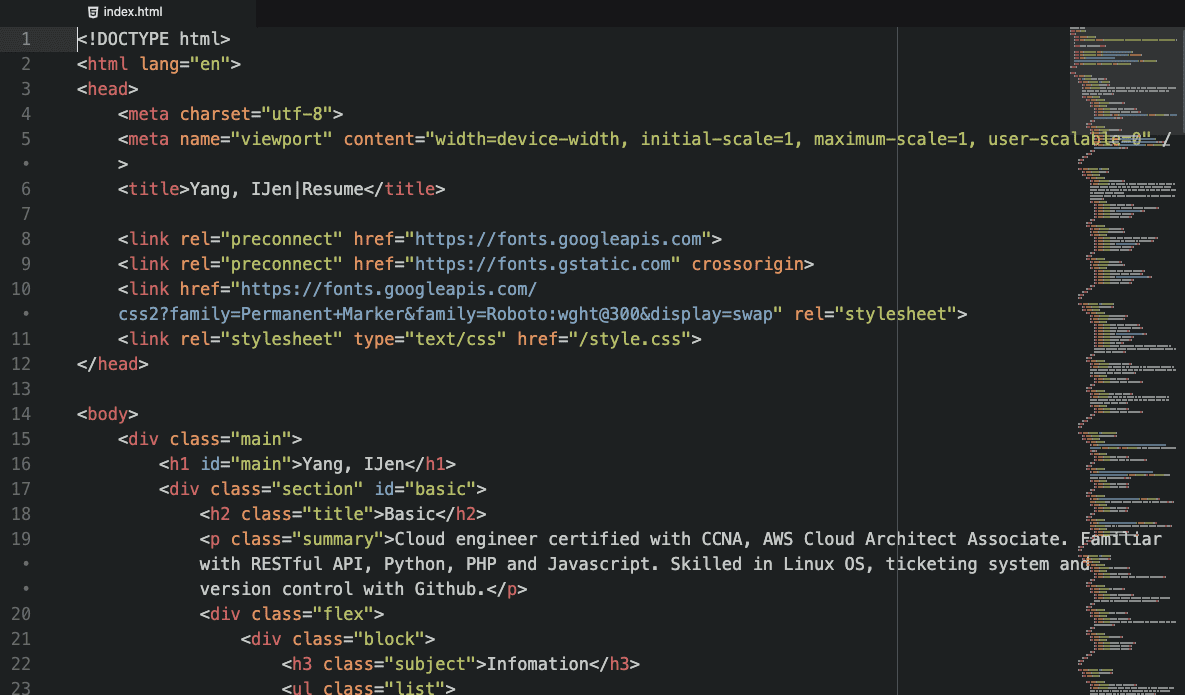
- 用文字編輯器開啟的 HTML 檔案
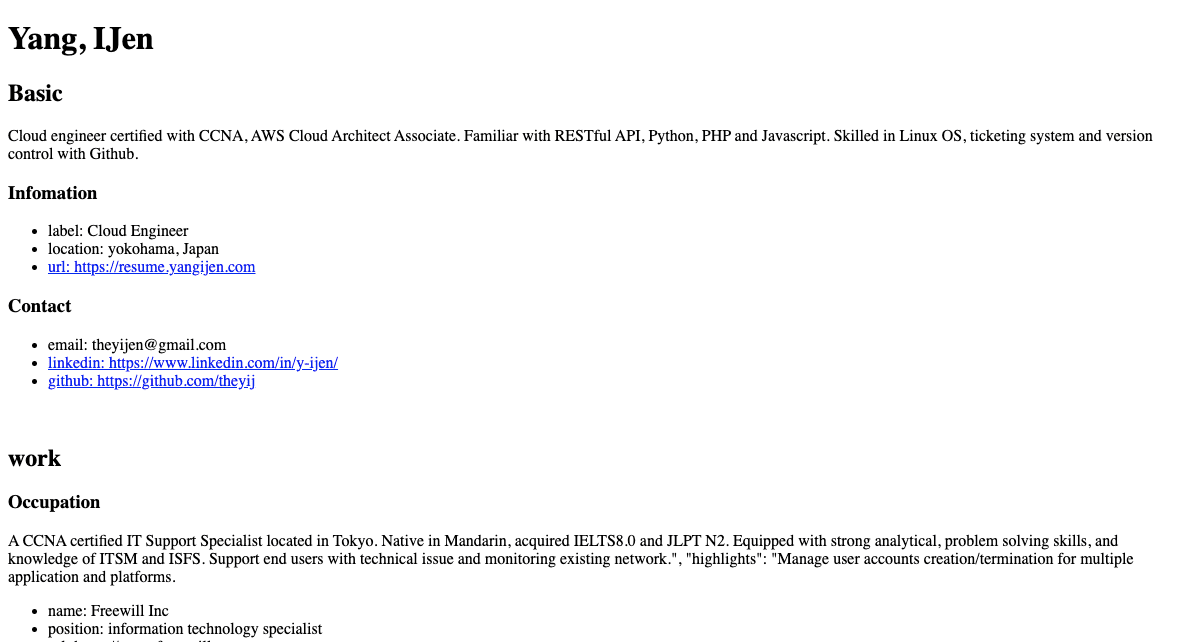
- 純 HTML 在瀏覽器上開啟的模樣
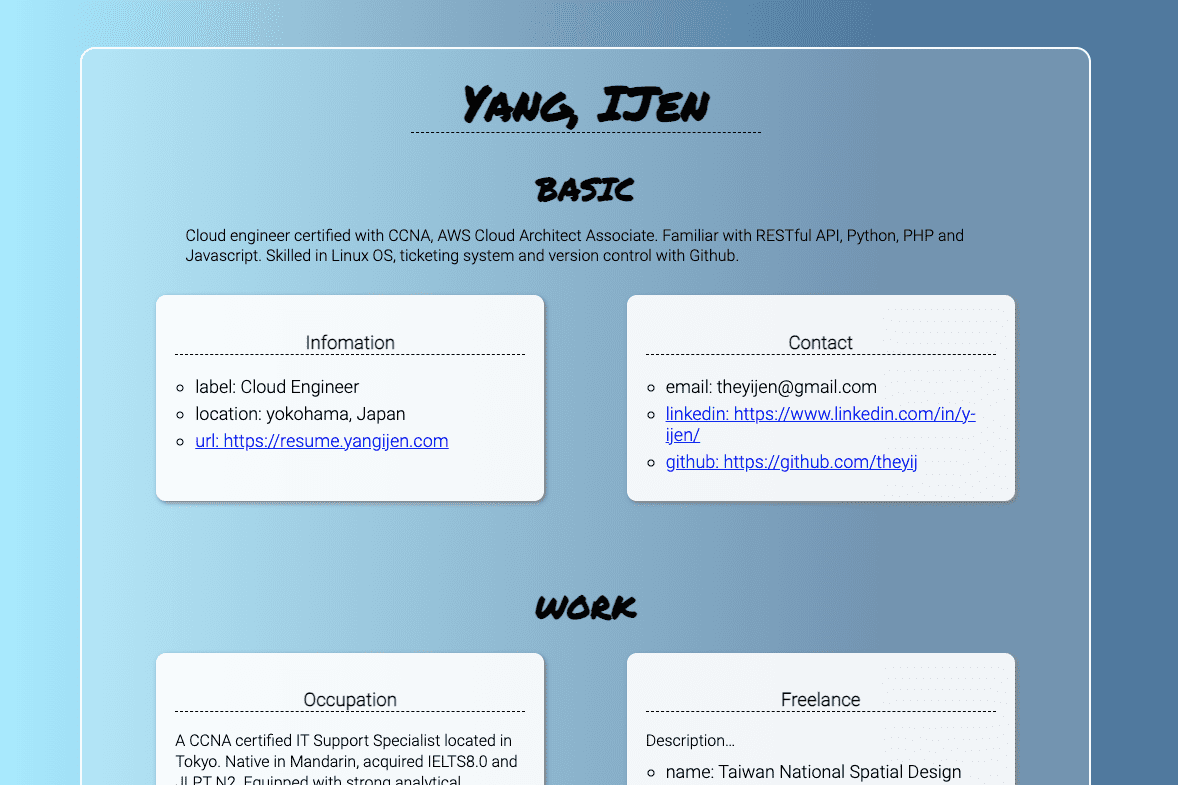
- 用 CSS 語法定義樣式後的網頁
- 上傳 HTML 到S3,成為靜態頁面!
用 AWS CLI 建立新的 S3 Bucket #
$ aws s3 mb s3://subdomain.yourdomain.com

- High-level指令: aws s3
- 建立新bucket:mb
- 指定新bucket名稱:s3://subdomain.yourdomain.com 🚨 新的bucket名稱會是最後DNS要設定的網址名稱,譬如:
[resume.yangijen.com](http://resume.yangijen.com)
參考:Using high-level (s3) commands with the AWS CLI
上傳 HTML & CSS 至剛剛建立的 S3 Bucket #
$ aws s3api put-object --bucket subdomain.yourdomain.com --key index.html --body index.html --content-type txt/html

- API-level指令:aws s3api
- 上傳物件:put-object
- 指定上傳bucket:–bucket subdomain.yourdomain.com
- 指定電腦中的文件:–key index.html (因為在Terminal中已經進入資料夾中,所以省略路徑指定 /Desktop/index.html)
- 指定上傳至bucket的位置:–body index.html (S3內沒有其他資料夾,上傳時不需要額外指定路徑)
- 指定html的 Metadata:–content-type txt/html (只有 .html 檔案需要指定這個選項)
啟用S3靜態網站託管 #
$ aws s3 website s3://subdomain.yourdomain.com --index-document index.html
- 靜態網站設定:aws s3 website
- 啟用bucket:s3://subdomain.yourdomain.com
- 設定網頁首頁:–index-document index.html
替S3 bucket設定公開閱覽權限 #
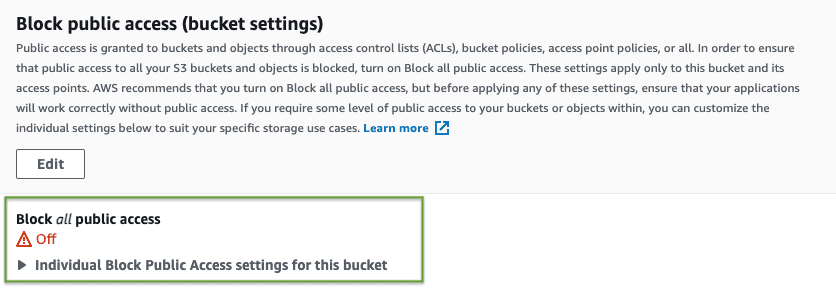
$ aws s3api delete-public-access-block --bucket subdomain.yourdomain.com
- 清除「封鎖所有公開存取」:delete-public-access-block
新增儲存貯體政策 Bucket Policy #
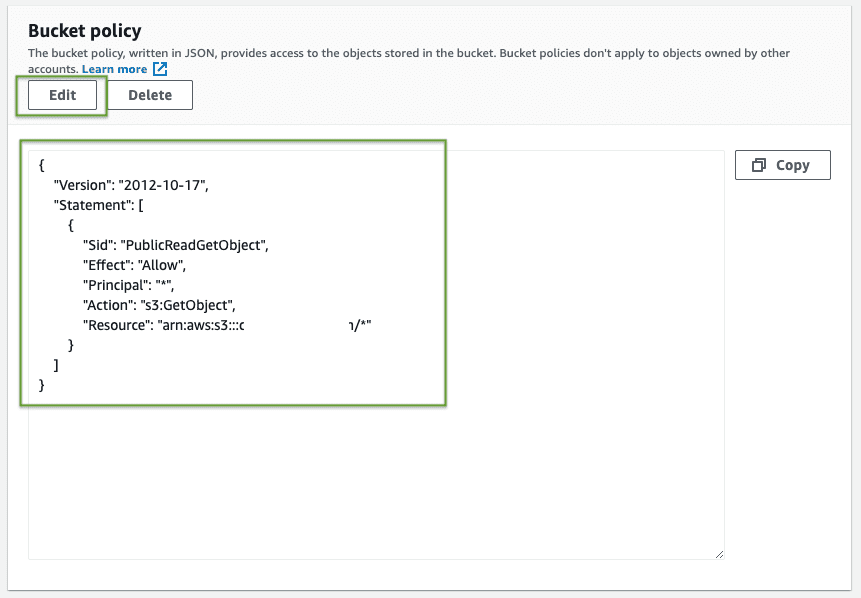
AWS S3 的 bucket policy 使用JSON 格式進行設定,因此需要先建立一個 policy.json 的檔案並將以下的 JSON 內容複製貼入檔案之中。別忘了將 Bucket-Name 改為你自己的 bucket名稱:subdomain.yourdomain.com 。
{
    "Version": "2012-10-17",
    "Statement": [
        {
            "Sid": "PublicReadGetObject",
            "Effect": "Allow",
            "Principal": "*",
            "Action": [
                "s3:GetObject"
            ],
            "Resource": [
                "arn:aws:s3:::Bucket-Name/*"
            ]
        }
    ]
}
參考:Step 2: Add a bucket policy
在自己的電腦裡建立好檔案和policy內容後,使用 put-object 指令上傳到 bucket。接著我們就可以將剛剛上傳的policy設定為該bucket的policy。
$ aws s3api put-bucket-policy --bucket subdomain.yourdomain.com --policy file://policy.json
- 指定S3 bucket內的檔案為bucket policy:–policy file://policy.json
儲存貯體網站端點Bucket website endpoint #
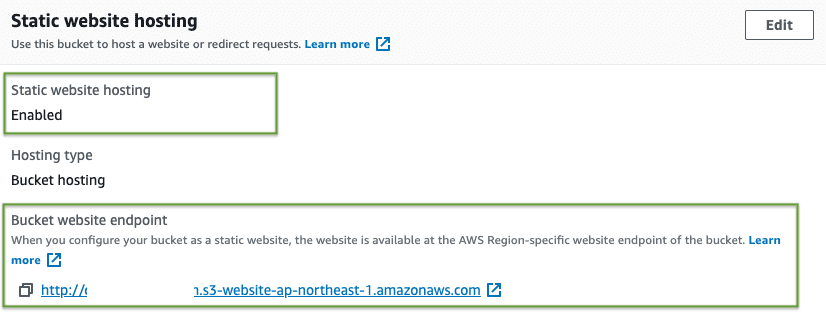
完成上面的設定之後還需要設定DNS來替我們的S3靜態網站導向,目前似乎沒有AWS API能夠取得這個連結,但還是有兩種方式能夠得bucket的Endpoint網站端點。
- 使用AWS Management Console → S3 → Bucket → Properties → Static website hosting
Endpoint網站端點的構成有兩個變數:我們的bucket名稱和所在的區域,而要如何知道bucket是設置在哪個區域呢?使用以下的指令
get-bucket-location就能知道我們的區域是設定在ap-northeast-1。$ aws s3api get-bucket-location --bucket subdomain.yourdomain.com { "LocationConstraint": "ap-northeast-1" }
綜合上述方式,我們可以得知Endpoint網站端點的網址、這個網址接下來會在 Part2 -進行 CloudFront 和 DNS 設定時使用。
